Club Night Report
Wednesday 8th July 2026
Club Night Photos for Wednesday 8th July 2026 - Guest Demonstrator: Keith Fenton
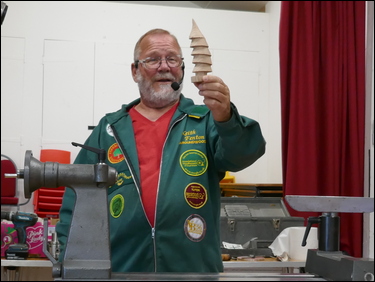
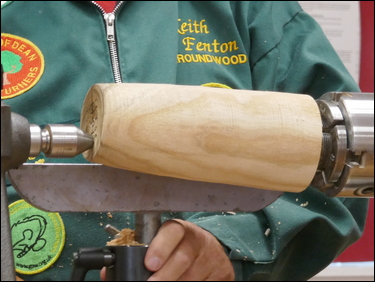
The demonstrator for the July 2026 meeting was the welcome return of a long-term favourite Keith Fenton (see website: www.aroundwood.co.uk ), who last visited us in June 2025.Keith announced that tonight's demonstration would be the making of Christmas Ornaments - he acknowledged that it was a very warm evening in early July, but thought it was a good time to get started on them ready for the festive season. He would be making a wide range of items - baubles with colouring, a star for the top of a tree, a 'bent' Christmas tree, an icicle snowman and as many items he could, before running out of time! There would be a limited amount of 'Blue Peter' moments where he switched to a more advanced stage to avoid drying time or other minor preparation activities. He recommended the use of lime timber (if available), as it was easy to turn and fairly light when hung on a tree branch.
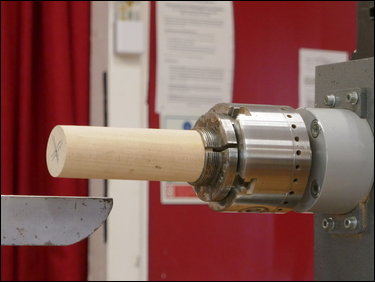
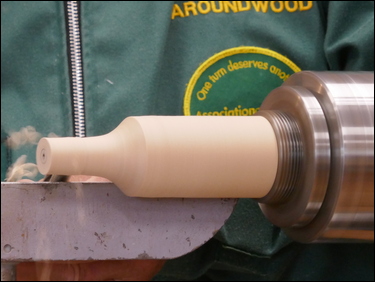
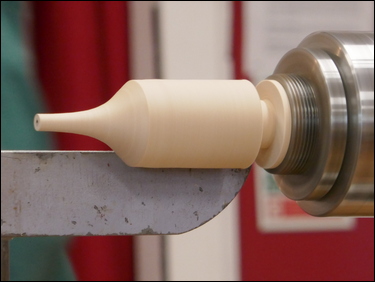
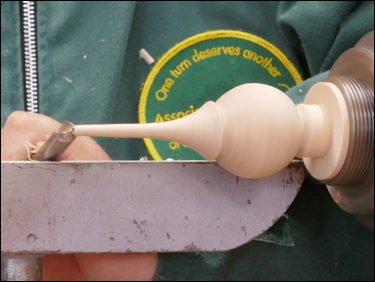
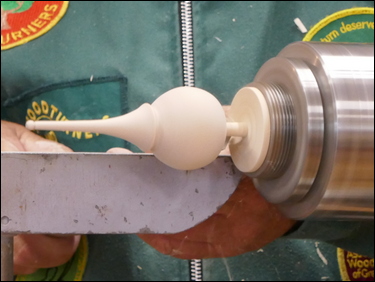
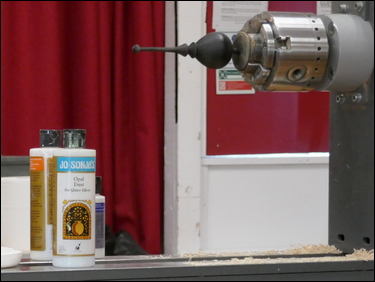
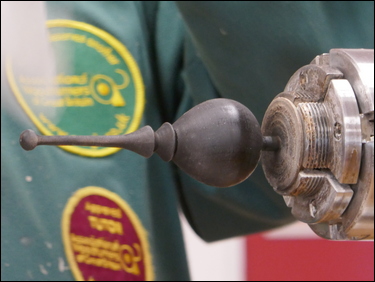
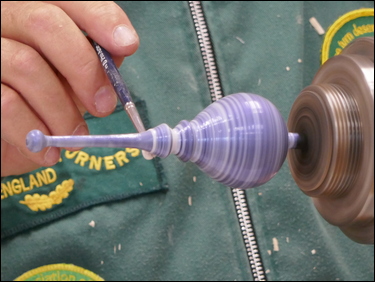
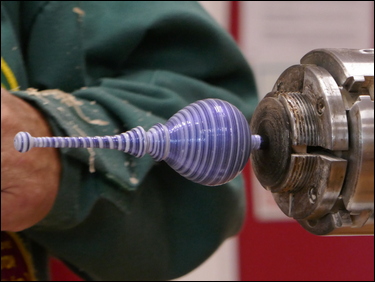
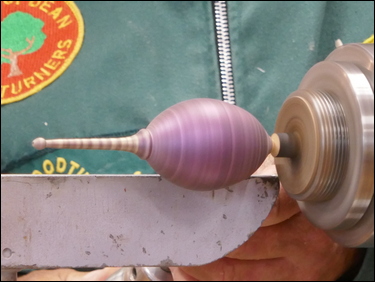
Keith's first item was the making of a bauble - he showed the trueing up of the outside diameter, followed by the shaping of the finial on the bottom of the globe shape. The top was reduced in diameter - ready for parting off. The part was switched to a bauble that had been sprayed with ebonising lacquer, as a base coat - ready for colouring with Jo Sonja's acrylic iridescent paint - which was applied with a brush.
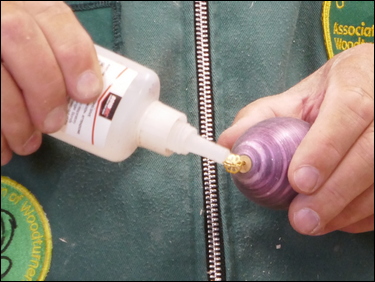
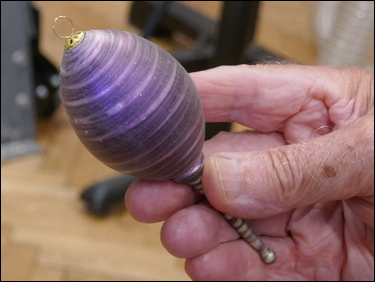
Another part-finished bauble was mounted in the chuck and parted off to leave a small flat on the top. Keith stressed that the ornament hanger should be 'small' - cup screws are not allowed in the interests of good taste/ appearance - a small screw eye or a proper bauble and cap hanger (see eBay or Amazon) should be used. He proceeded to drill a 1 mm diameter hole in the flat end of the bauble and then used thick superglue to secure the wires of a bauble hanger in the hole. The item would be finished with a coat of acrylic gloss spray lacquer.
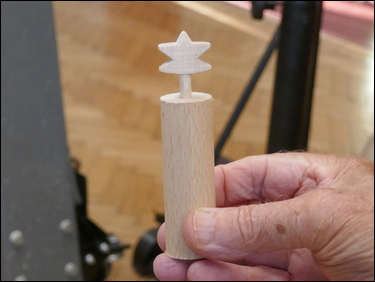
Keith's next item was the making of a 'Star' for the top of a tree - or it could be incorporated into the design of the tree. See here for an example by Steve Jones (Master of the Skew): Christmas Tree with Star
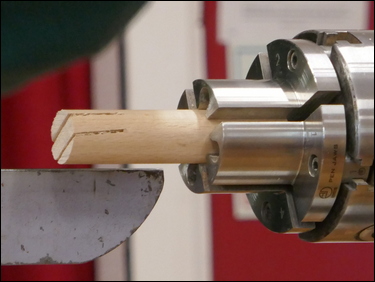
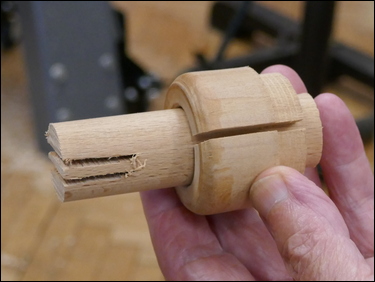
A small blank (1 inch diameter by 4 inches long) had been pre-prepared with a couple of saw-cuts in the end. He also showed a small home-made split collar jig, that could be held in a 4-jaw chuck - to accommodate smaller diameters of timber. The star-shape was turned with a skew chisel and a spindle gouge.
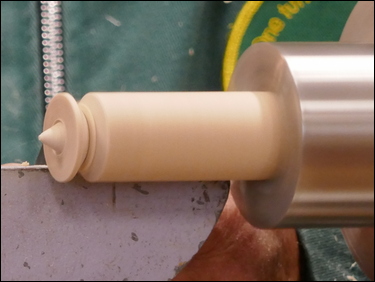
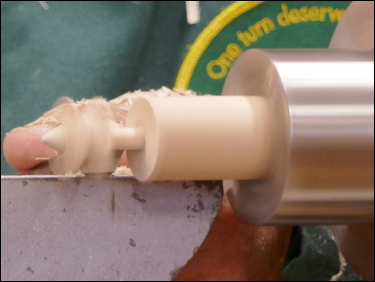
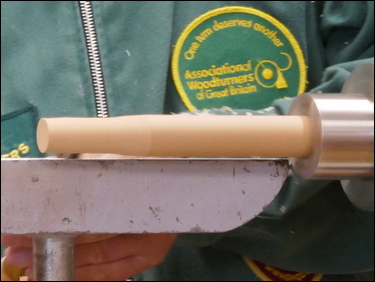
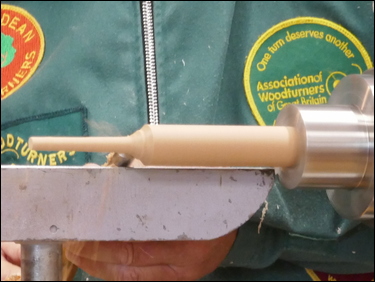
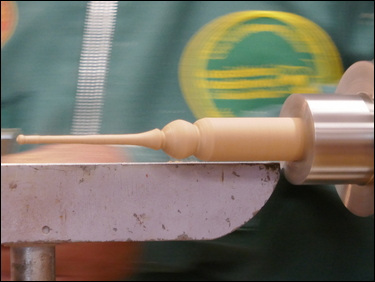
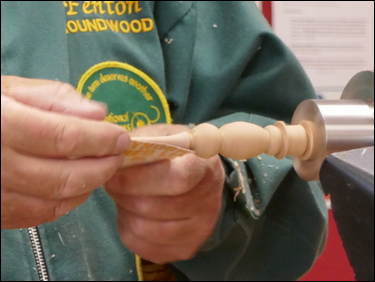
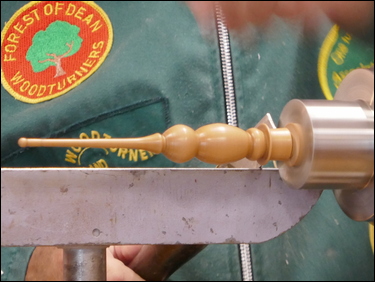
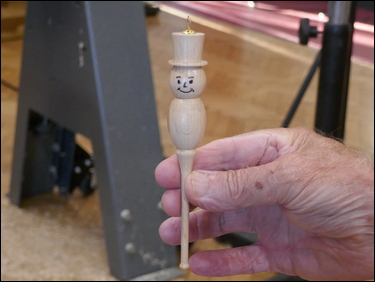
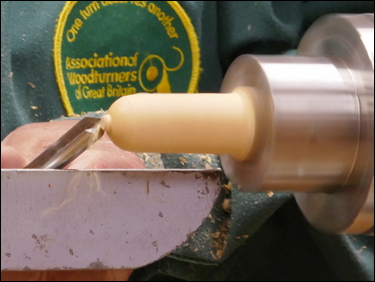
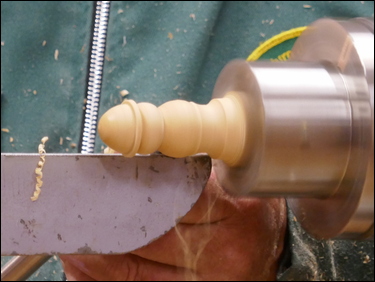
An Icicle Snowman made from a 1 inch diameter by 7 inches long blank, was next. The part was turned from the tailstock end - using fingers for support as necessary - progressing to the body, head and top hat. The part was fully sanded though the grits, a coat of cellulose sanding sealer was applied - then burnished with a handful of shavings, cut back with Webrax - and finished with a mixture of carnauba and beeswax.
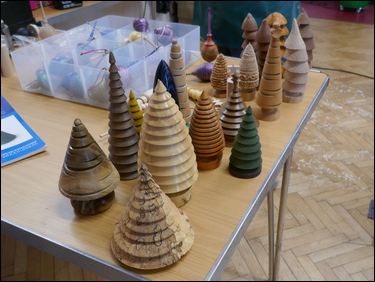
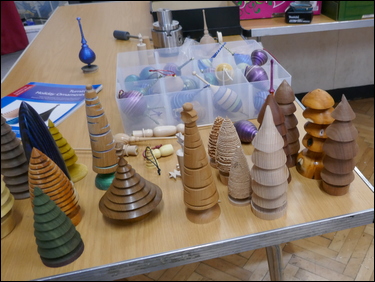
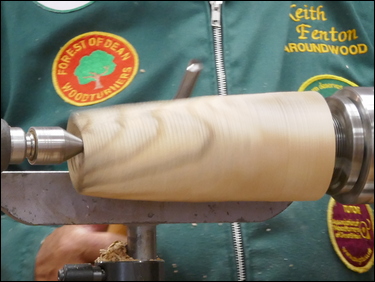
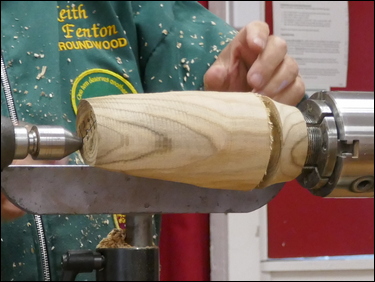
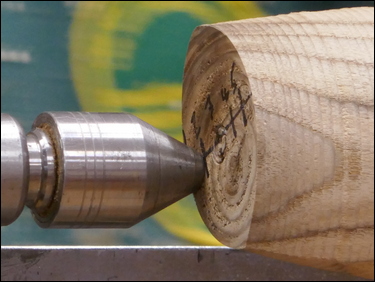
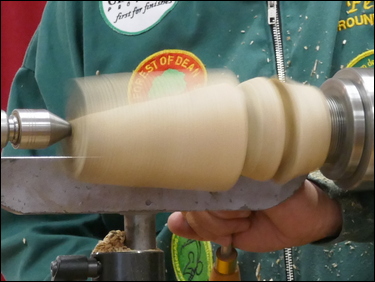
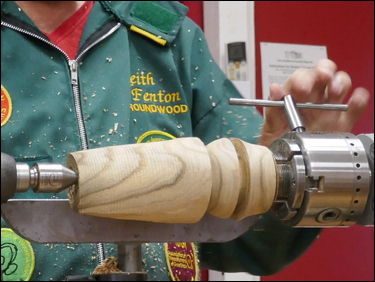
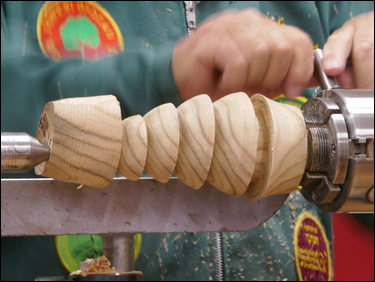
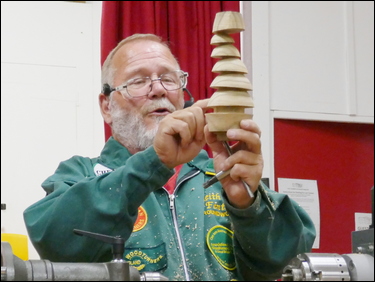
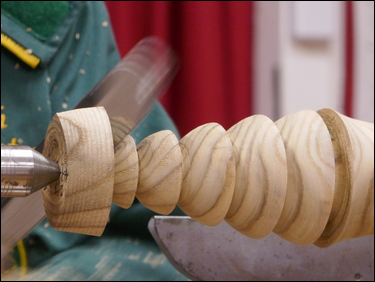
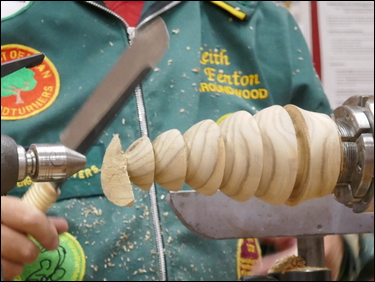
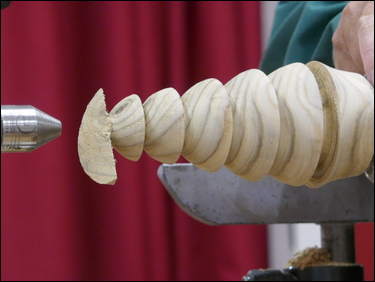
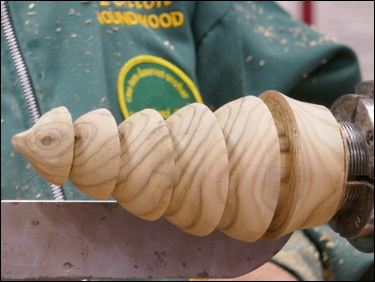
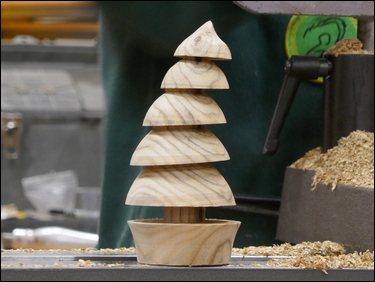
A bendy/ bent/ leaning Christmas tree blank approx. 3.5 inches diameter by 9 inches long - with a chucking spigot - had been pre-prepared to a tapered shape and the end face had been marked out with 5-centre points. It was quite a long, involved process working through the 5-centres as the part was progressively turned to generate the 'bent' shape - using a parting tool and spindle gouge.
For examples of the process see here: www.youtube.com/watch?v=EOn7zmLg0U4 or www.youtube.com/watch?v=_wP5NgaYO2k or www.youtube.com/watch?v=8C3OL4gbZp0 to get you started.
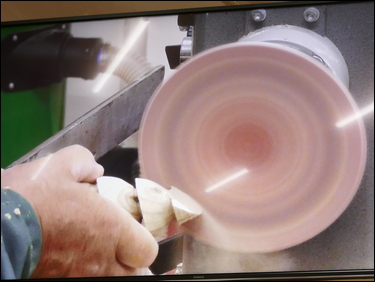
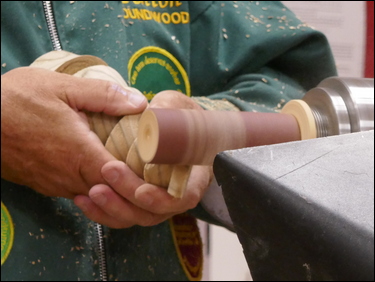
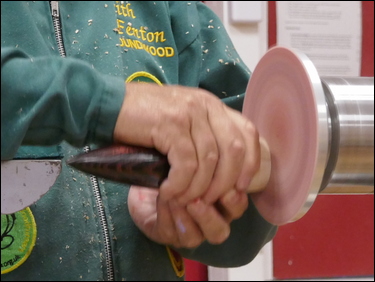
The final top section of the tree was finished by hand utilising a sanding disk and a bobbin sander.
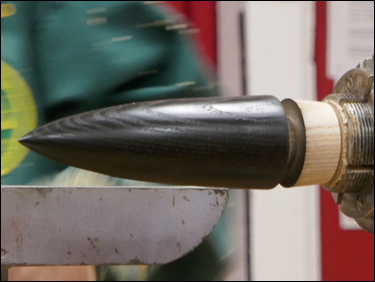
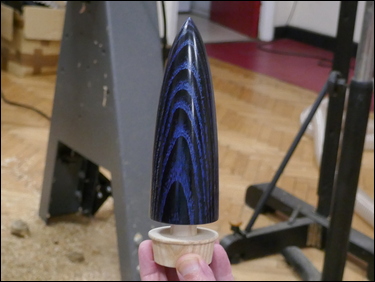
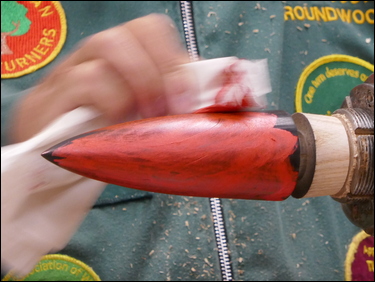
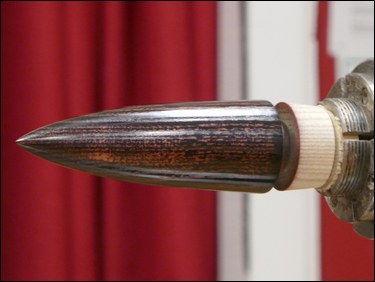
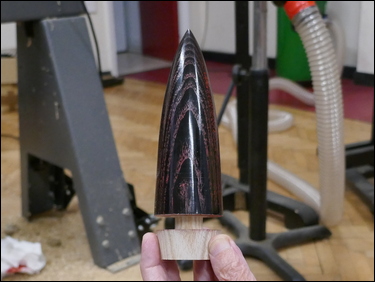
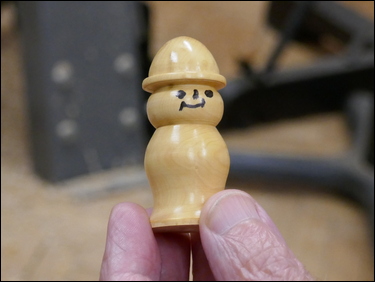
Keith next showed two cone shaped trees, made in ash. After finish turning the grain was brushed with a bronze brush to deepen the soft grain between the growth rings. The parts were once again sprayed black and then the colour was applied with a rag. The last item to be made was a small snowman - designed with a flared base - so that it would stand up, or with a rounded base to become a hanging snowman.
Tonight, Keith presented us with a very varied and entertaining display of the making of Christmas ornaments using solid, basic turning and colouring techniques. A lot of ground was covered - with the pre-prepared examples keeping everything moving at a fast pace. Eight individual items were completed - something to inspire everyone.
Thank you, Keith!
 |
 |
 |
 |
 |
 |
 |
 |
 |
 |
 |
 |
 |
 |
 |
 |
 |
 |
 |
 |
 |
 |
 |
 |
 |
 |
 |
 |
 |
 |
 |
 |
 |
 |
 |
 |
 |
 |
 |
 |
 |
 |
 |
 |
 |
 |
 |
 |
 |
 |
The Display Table was well supported and showed a number of interesting items...
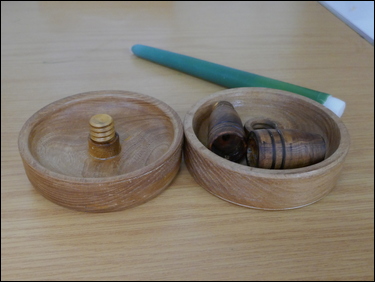
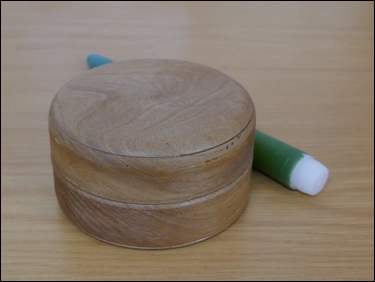
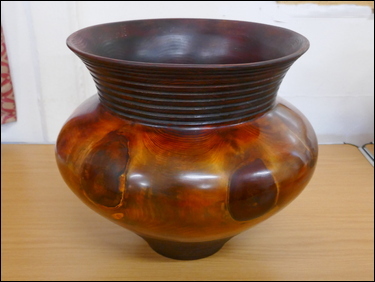
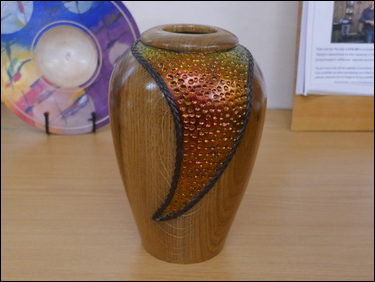
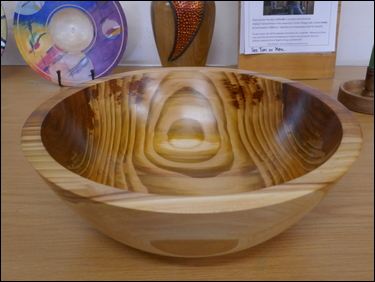
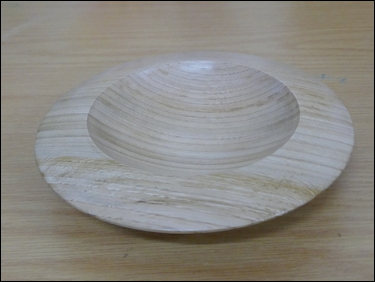
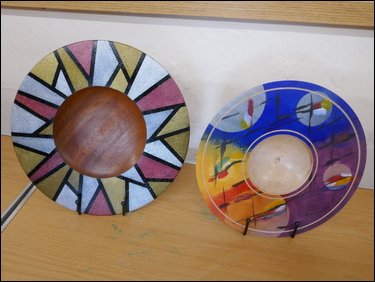
Bill Savage presented a reproduction of an antique 'Brighton Bun' design - basically, it's a travelling candlestick holder - complete with hand-chased threaded components. Frans Brown showed a large (12.5 inches diameter by 12 inches tall) monkey puzzle, stained/ coloured (green, yellow and red) vase, with a satin black interior and deep red extension pieces, finished with 12 coats of finishing oil. Tim Mortimer displayed a large coloured and textured hollow form vase made in oak. Also, a large cherry bowl that had initially been wet turned - allowed to season for a while and then finish turned and coated with hard wax oil. Don Webster presented a shallow bowl in sweet chestnut, along with two sapele/ mahogany platters that had been coloured using various techniques - masking tape, colour dabbing with a sponge and air brushing.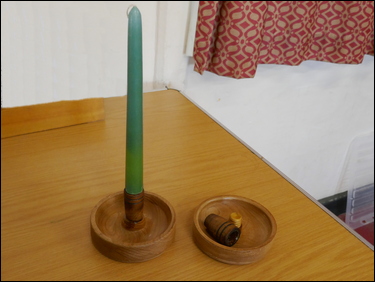 |
 |
 |
 |
 |
 |
 |
 |